First an historical diagram. This house is so weirdly complex it is hard to grasp its structure, even for me, and I have been in every place a person can get into here. In red is the original structure. Yellow is the first expansion, raising the roof and building a new stairway on the east side. The little yellow section on the east side is where they raised the roof for the top of the stairs, and there was a time when it stuck out alone, before the blue section was added. The original stairs were at the back of the house, to the north. The various blue tones followed - I don't know what came when, and the porch may have been added when the roof was raised and the basement was expanded. I know the wing on the east side, which contains the upstairs bathroom, came after the stairs were added, because in the attic there is a weird little area where the yellow, blue and red zones meet, and I found exterior siding on the north side of the area which comprises the top of the stairs. The green square is what interests us today.

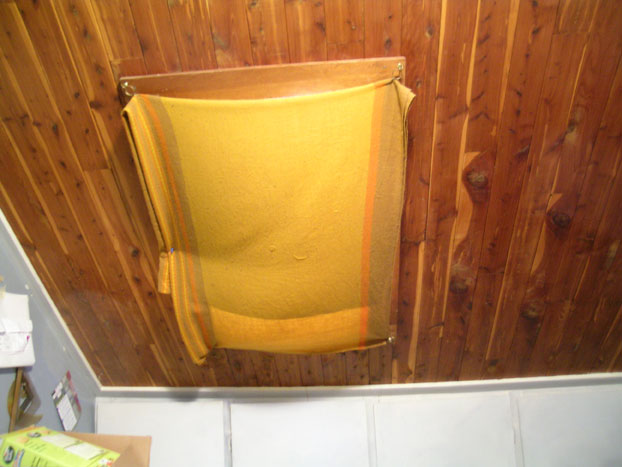
This is how it has been for years. When I uncovered it today the overcast light of morning was so nice I almost forgot why I have kept it covered and looked forward with eagerness to the day I would get rid of it. Then I remembered that a foot-wide beam of sunlight creeping across the workbench does not help at all, nor does having things get dripped on and mopping up under a hole in the roof all winter.
Moss on the outside, mold on the inside. I tried many times to seal it from inside and outside but never succeeded until I just stapled a sheet of plastic over it.
Tools for today's work - climbing harness and rope, belt bag for nails, and demolition bar. The rubber mallet was not needed.
Here it is. As you see, the plastic skylight is much larger than the opening, overlapping it on all four sides. It is glued on, and held down with strap iron that is nailed to the side of the box.
Here is how I remove the shingles. Safety apparatus in foreground. I thought I might salvage some shingles but they are too old to re-use, but I like to be orderly. Unlike professional roofers who have a crew of five and a drop box to throw everything in, I can't just scrape the shingles off with a shovel and dump them off the roof. I remove the nails and put them in my leather belt bag, and try to drop the shingles so they don't get all crunched up in a heap.

Maybe this was why it leaked. You are supposed to layer those pieces of metal flashing (that's what they call it, flashing) so they match the layers of shingles. It comes in a roll, 8 inches wide by 10 feet long. I know because one piece had the sticker on it. If I were doing it, I would cut them all the same size and add one with each layer of shingles, to ensure that water rolled off and down the roof, instead of seeping in and wrecking somebody's bookbinding supplies.

And what the hell is this sticking out? There is one on the other side too. The skylight is made of two sheets of plastic spaced about half an inch apart, with these sort of gas vent things similar to a tire inner tube filler. The knurled cap screws off and there is some mechanism inside. It looks like this was actually built as a window of some kind, to be filled with an inert gas, but it was probably picked up as salvage and used on our house. The skylight at the front of the house, which I replaced years ago, was also two layers but more obviously faked up than this. Note the sophisticated attachment technique with the strap iron. That will keep it on.

Another interesting feature at the top of the house where the newer structure meets the original wall. This cannot be blamed on the skylight builders. Here the flashing should be fitted to the siding, slid up under each piece of siding and fitted to the roof to prevent water getting into the crack. You really don't need that under an 18 inch overlap because it would take a hurricane to get water back there, so maybe that is why they just crapped it up with a bunch of pieces at random like that. You can see a spot of bare wood on the underside of that beam, indicating that there was once a support piece resting on the roof ridge below. I painted the green parts and you can see where I stopped, because you actually have to be right where I was when I took the picture to see it.

Here is another thing farther down. Only about half of this support block is left, and I will have to cut a new one. It was pretty loose and only nailed to the roof. Nothing will collapse without it but I don't want to walk on that overhang until it is replaced. You can also see this in the first exterior photo of the skylight, above.

Today's mission accomplished. Most of the shingles are stripped off except for the ones behind the skylight and under the overhang, which I can't get to until I remove the skylight.

Here are the shingles stacked up. I will have to figure out how to dispose of them. Next step - demolition of the skylight.
 As for the investigative aspect of the project, I found that the cost came out to about the same as using pre-cut shingles would be. I spent about $30 more total for roll roofing than I would for shingles, but have half a roll left. This house will have to be re-roofed before I die unless I die in the next year or so, in which case it is not my problem. If I do it within two years the shingles will still be in good enough shape I can just put the new ones over them. If I wait much more than that, they will get warped and curly enough that they will have to be stripped off and replaced, which would just about triple the work involved. It takes about an hour and a half to cut a whole roll of roofing into these two tab hex shingles, which covers about 50 - 60 square feet. I will see how this holds up over the winter and if it doesn't suffer any major failure I will probably use this technique in the future. About half of the roof is not visible from the street so I would use uncut roll roofing, but for the visible areas I would like to do something interesting and I think a two or three color treatment of this would be pretty cool.